
 The other week I was nattering on my insta-stories about some kind of nonsense and I got A LOT of messages about my brows and what I had done to them. I *had* done them a little differently using the old school ‘soap brow’ technique so I wanted to share with you how I do this and the (easy!) way it works for me.
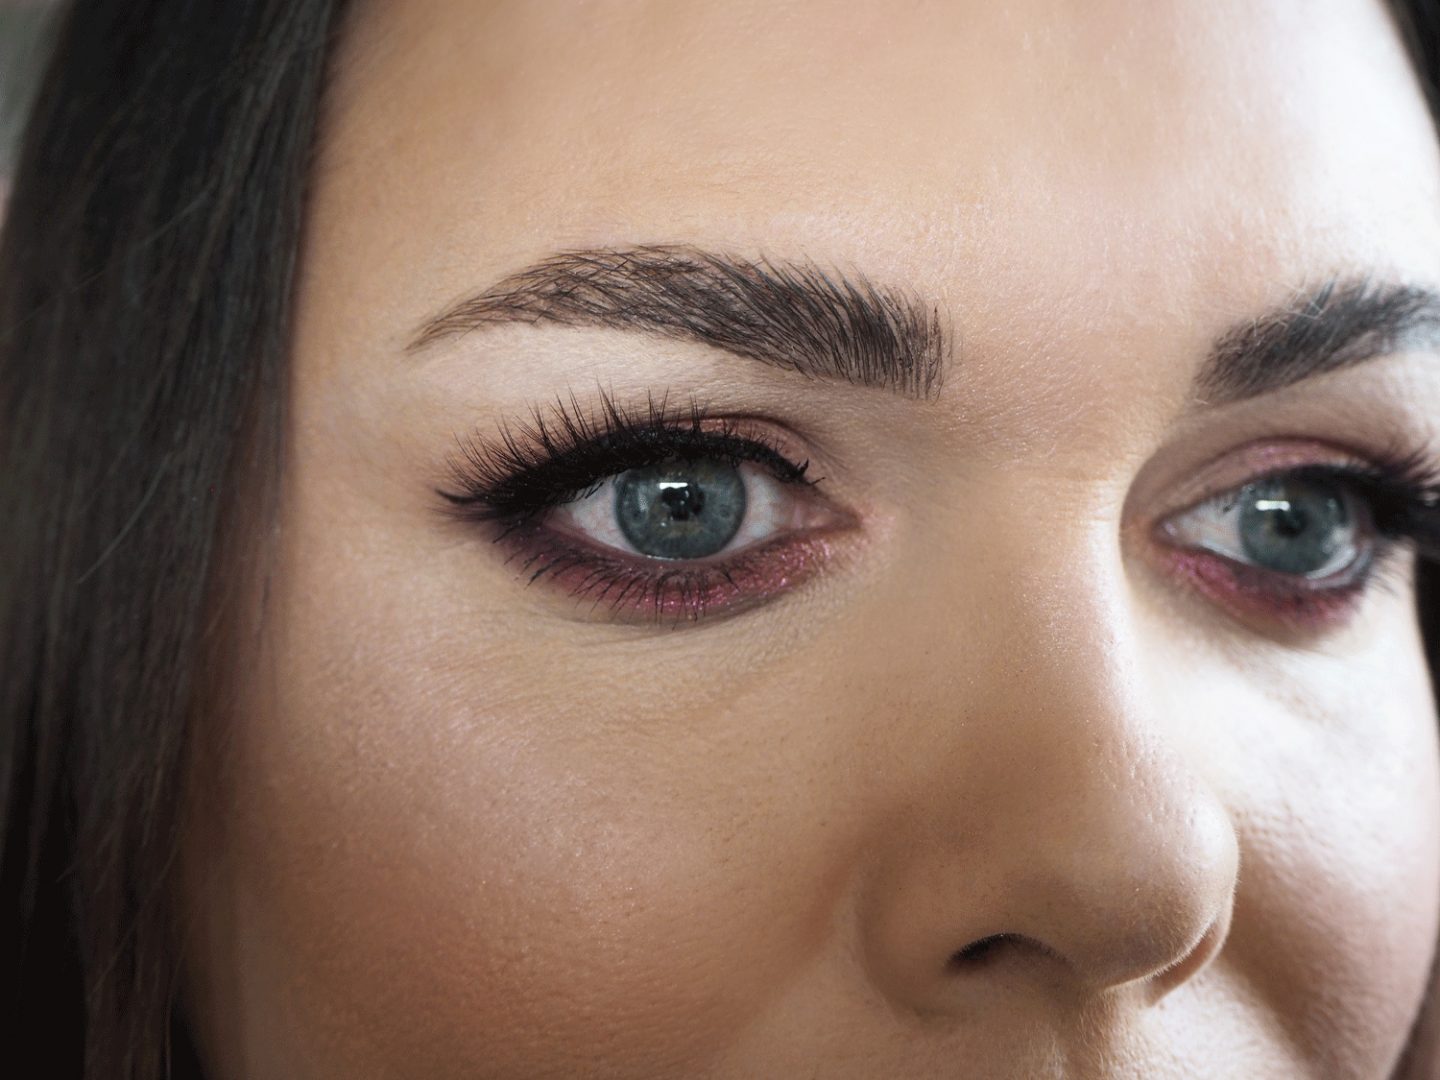
The soap brow method has been a makeup artist technique for SO many years. I’ve been carrying a Pear’s soap in my kit for probably 12 years (not the same one may I add) and It’s become a lot more popular and mainstream in the last couple of years as the brow fascination and trends are still going strong in the makeup world. We are saying ba-bye to the typical faded insta-brow and the brushed up, textured brow is back in with a BANG!

Products you need :
- Pear’s soap (you can use others, this is just my go-to and preferred)
- x 2 clean spoolie wands
- Your brow makeup ; pencils don’t work quite as well over the top of the soap so I would opt for your gel/pomade kinda vibe.
- Benefit High Brow / pale concealer
Method :
- Wet your spoolie with water and then coat with the soap so it’s quite thick. I have a water spray on my makeup desk for ease.
- Brush the soap through the brows in upwards motions so your hairs are kinda going straight up (it’ll look a little strange!) Take a minute to do this and ensure there’s not loads of excess and the brows are looking neat.
- Take your clean spoolie and neaten the brows and brush through – I go along the top and bring some of the hairs back down if they are a bit too wild – it may be easier to watch the YT vid for this part!
- Get your brow pomade. I use ABH Dipbrow with a touch of Inglot Duraline so it’s a little more liquid in formula. I find this works best for precision. I use a angled liner brush and then gradually add on the hairs in quick, small strokes. Layering is key, you want the hairs to look as real as possible.
- Brow gel – optional. I like to finish with a layer of brow gel just to add a tiny bit more texture rather than the brows looking too flat to the skin.
- Use a concealer or similar to blend and neaten under the brow. I use my trusty Benefit High Brow. This opens up the eye and gives a little more life and light to the brow.

It takes a bit of practice to get your technique right for your brows but once you do it can REALLY make a huge difference. Big, natural-looking brows are within everyone’s reach.
I think it’s a great little trick to do if you want bigger brows, but not the drawn-on, blocky looking effect ; hey if you like it, keep rocking it! However my preference is just a little more texture and fluffy-ness. You don’t need anything fancy, you can dupe up the ABH Dipbrow and the other products I have used.

If you like the look of this technique it may be worth having a quick watch of my 5-minute tutorial which may explain things a little better and you can see what I mean by layering and the amount of soap etc etc. Do subscribe if you haven’t already!
I would love to know your thoughts on all things brows : have you tried this technique before? What kind of finish do you go for with your brow makeup?

*Contains affiliate links
